Unity To Godot Migration guide: Making an Editor Window
Tags:In Unity, it’s quite easy to make a custom EditorWindow - you pretty much just make a new class that extends EditorWindow, and create some way of opening the EditorWindow. From there, you can draw whatever gui you need in the OnGUI method - very simple.
Godot has an equivalent, but the set up for this is more involved. In Godot, they are called custom Docks.
The documentation provides an example, which I will be paraphrasing here as well: https://docs.godotengine.org/en/stable/tutorials/plugins/editor/making_plugins.html#a-custom-dock
In a nutshell, you will:
- use Godot’s plugin system to create a new Dock
- create a new scene to build your Dock GUI
- make your plugin load your scene into the Dock.
- enable your plugin in Project Settings
Use Godot’s plugin system to create a new Dock
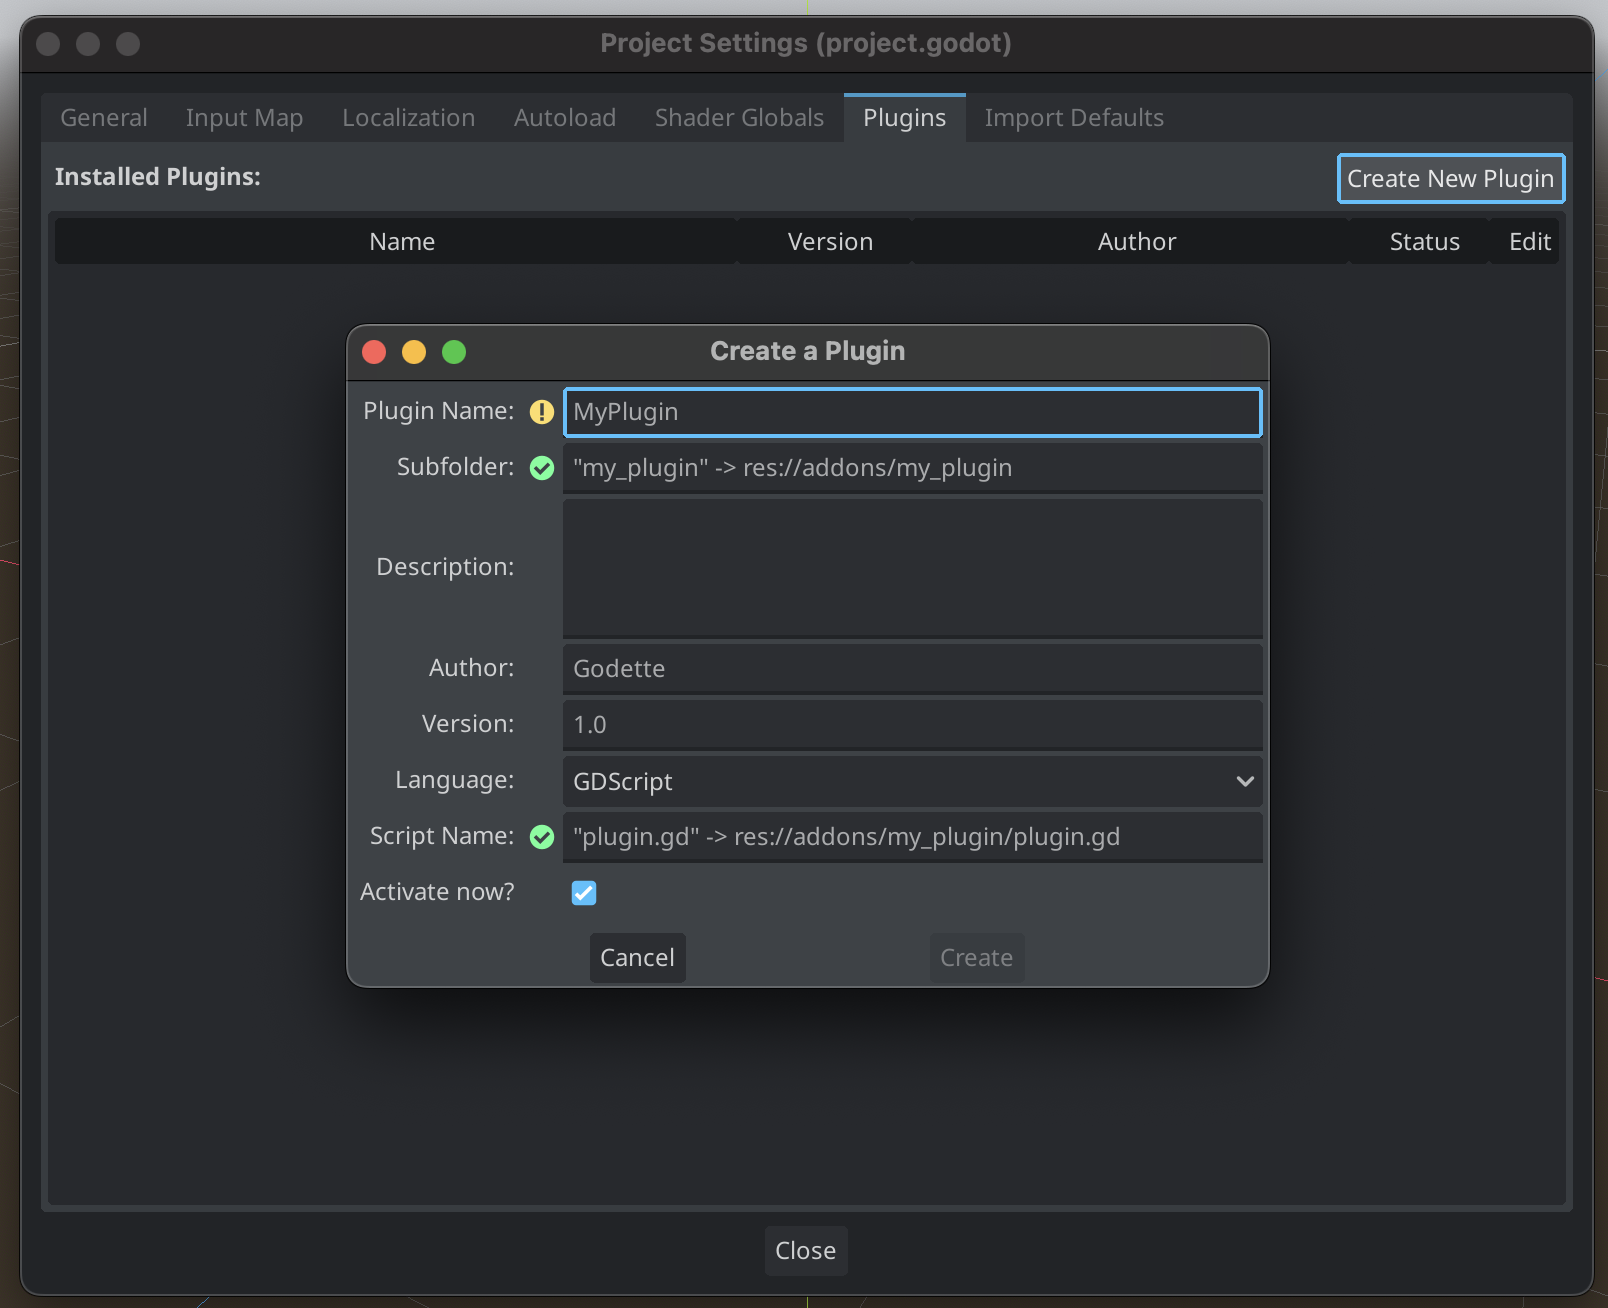
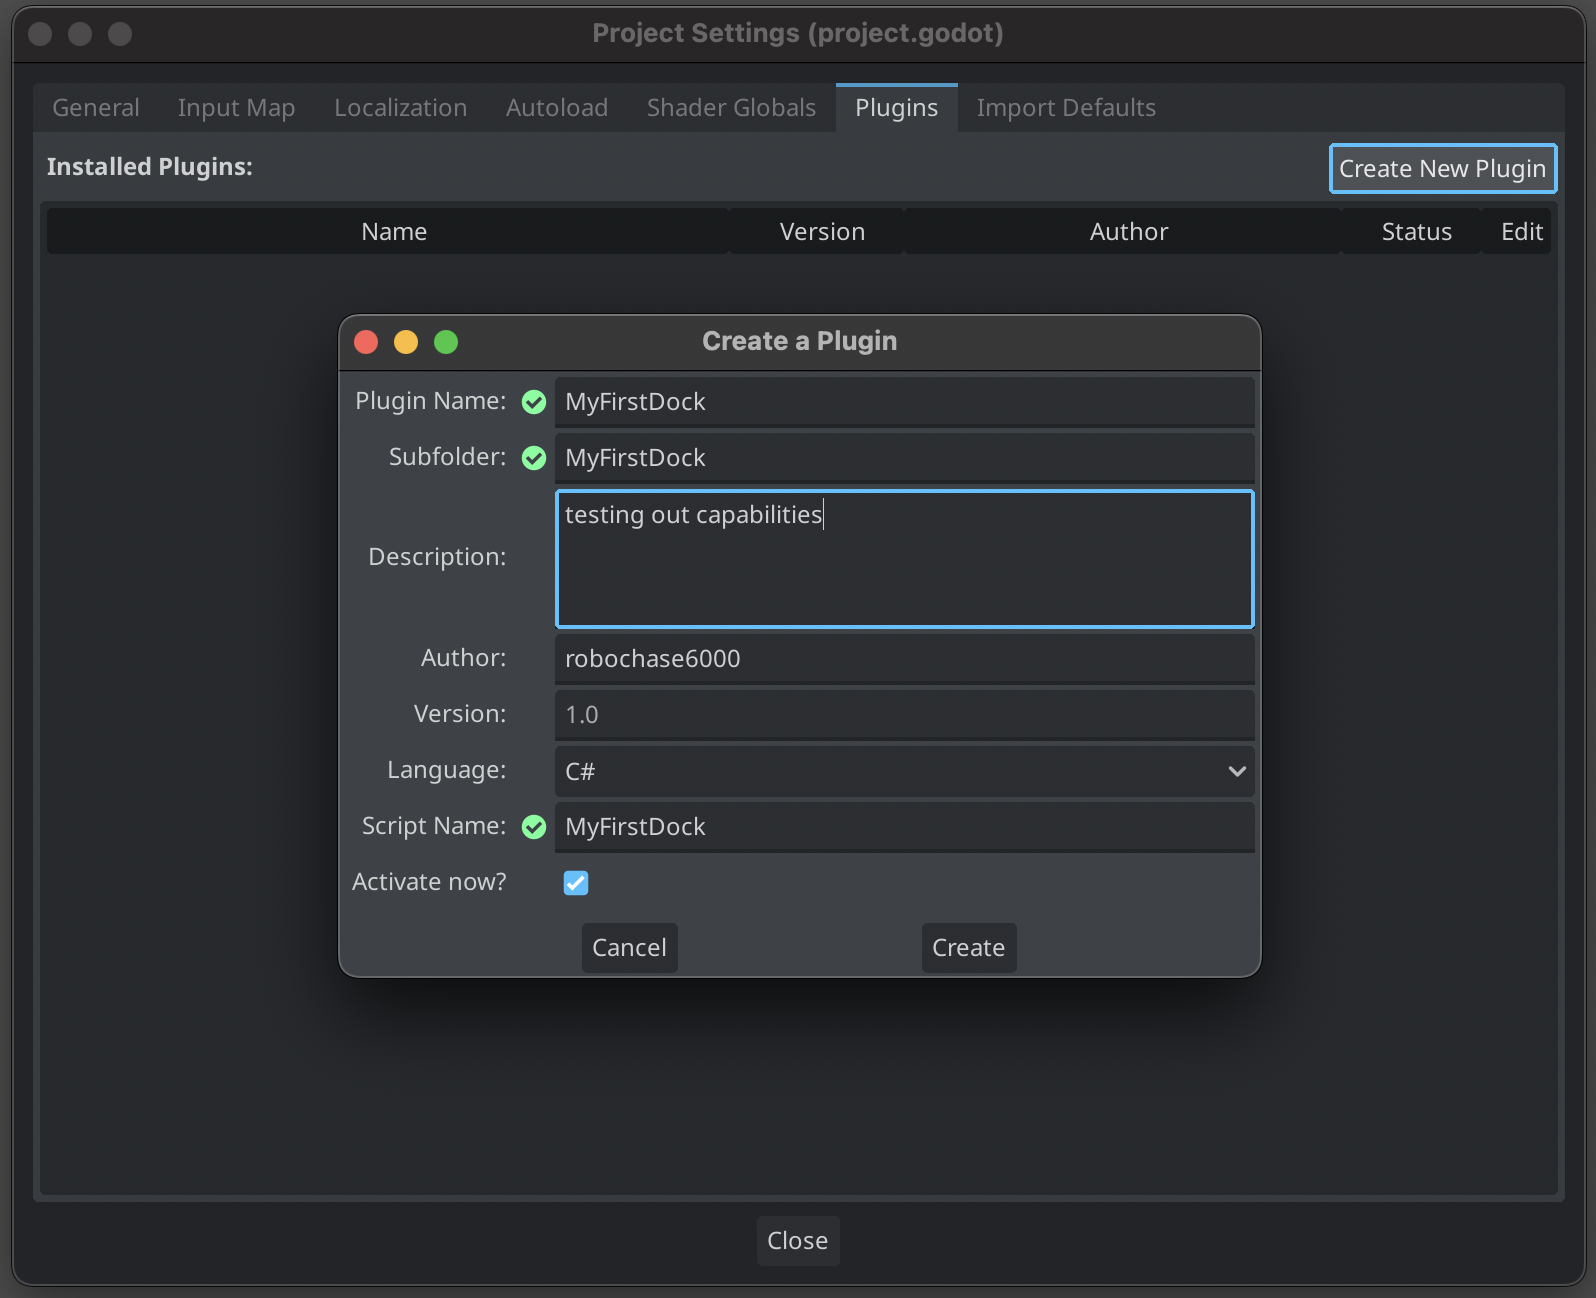
- go to Project > Project Settings… > Plugins tab > Create New Plugin

- provide a name (e.g. “MyFirstDock”)
- provide a subfolder name (e.g. “MyFirstDock”). Note that it will be saved to
res://addons/MyFirstDock - provide a script name (e.g. “MyFirstDock”). this will autogenerate the script you need at
res://addons/MyFirstDock/MyFirstDock.cs - click
Create- a script and a cfg file will be created inres://addons/MyFirstDock

Warning after Creation
After clicking Create, you may be presented with a weird warning window, and some complaints in your log like
Another resource is loaded from path 'res://addons/MyFirstDock/MyFirstDock.cs' (possible cyclic resource inclusion).

Just ignore this stuff for now. Not the best advice, but it seems to be the editor just complaining once.
Create a new scene to build your Dock GUI
- create a new scene in godot
- for your Root Node of the your scene, select
User Interface- this will create a Control node at the root of your scene. - rename the root node to
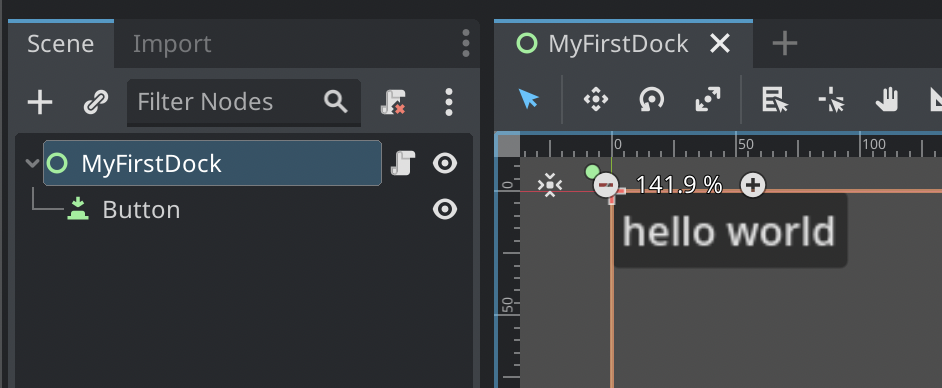
MyFirstDock - add a Button node as a child, give it a label like ‘hello world’ or whatever
- save the scene here
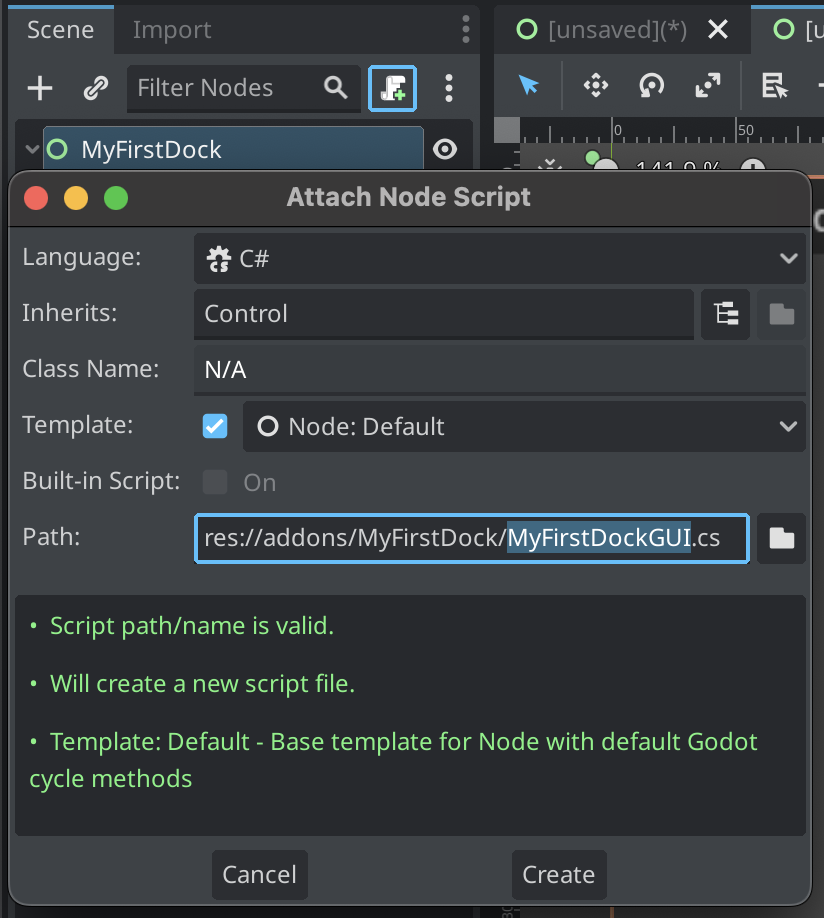
res://addons/MyFirstDock/MyFirstDock.tscn - let’s attach a NEW script to the root node called
MyFirstDockGUI

Your hierarchy should now look like this

- stub out some test code for
MyFirstDockGUIand link up the TestButton in the inspector
#if TOOLS
using Godot;

[Tool]
public partial class MyFirstDockGUI : Control
{
    [Export] public Button TestButton;

    public override void _Ready()
    {
        base._Ready();
        TestButton.Pressed += OnTestButtonPressed;
    }

    public override void _ExitTree()
    {
        base._ExitTree();
        TestButton.Pressed -= OnTestButtonPressed;
    }

    private void OnTestButtonPressed()
    {
        GD.Print("OnTestButtonPressed!");
    }
}
#endif
this provides a TestButton export - remember to link this up in the Inspector GUI.
Save your scene, we’re almost ready.
make your plugin load your scene into the Dock.
Update your MyFirstDock script to load the MyFirstDock scene
#if TOOLS
using Godot;

[Tool]
public partial class MyFirstDock : EditorPlugin
{
    private Control dock;

    public override void _EnterTree()
    {
        // Initialization of the plugin goes here.
        dock = (Control)GD.Load<PackedScene>("addons/MyFirstDock/MyFirstDock.tscn").Instantiate();
        AddControlToDock(DockSlot.LeftUl, dock);
    }

    public override void _ExitTree()
    {
        // Clean-up of the plugin goes here.
        // Remove the dock.
        RemoveControlFromDocks(dock);
        // Erase the control from the memory.
        dock.Free();
    }
}
#endif
enable your plugin in Project Settings
This is easy -
Project > Project Settings... > Plugins tab > click enable on your plugin.
you should now see your Dock, and clicking it should log your message!

NOTE: every time you change your scene or plugin code, you will need to toggle your plugin off, then on again.